Monday, December 21, 2015

Christmas leave


Hello hobbyists,

I'm on leave for the next 3 weeks and that usually means modeling.  I'm headed home for Christmas so that will limit my ability to construct and model.

That being said, I should be able to do some sketching and concept drawing.

I've been really inspired recently.  There is a wealth of heresy stuff out there and it's given me the bug. 

I recently got the battle for Calth and the wonderful model, Primarch Roboute Guilliman.

I may not be the best sketched but Wait out to see more.


Monday, December 7, 2015

Other diversions.

Hello hobbyists,

Built something kind of different this time.  For work we usually have crazy parties where you dress up like a fool.

This year it was decided that everyone would dress up like batman.  So I designed and built my favorite batman costume.

I started with a random box I had in the basement to get the basic measurements.  

I then built that shape out of foam core.  To sturdy it up, I added guntape (duct tape) and coated the entire thing in spray on rubber. Printed and then cut the symbol out of acitate (overhead projector paper).  I fixed it in place and then spray painted grey and then yellow over the stencil.

Next came the helmet.

This was a little trickier.  I used a cardboard cement form for the basic round shape.  I then painted the first layers of colour on it, stupidly starting with sunburst yellow, because I forgot that legobatman is pink in the Lego movie.  I then cut out the mask in Eva foam and then sprayed it down with the the rubber spray.  Luckily I didn't have to paint after I sprayed the black.  I then found the expression I wanted and went to town with the black.  I was worried that the white wouldn't have enough pigment, so I borrowed the girlfriends whiteout to finish the job.  Below you have the finished product.


Hope you enjoyed another strange creation.

Happy hobbying!

Helbuck

Sunday, November 22, 2015

Halloween fun

Hello hobbyists,

I've been a little absent from the world if model building.  Not to say I've been stagnant but I've been doing other things.  


Just having some fun with Halloween.  Also completed a zombie dog for a zombie walk.


Amazing what you can do with a little plastic dog skeleton, plastic bags, liquid latex and cotton balls.  

Won most original costume.

Cheers,

helbuck

Saturday, August 8, 2015

Good friends and fabrication.

Diligent readers,

A friend of mine recently gave me a thank you present for letting him stay with me for a while.  He went online and purchased a folger tech Prusa i3 2020 rev 3d printer (Isn't that a mouth full).  I have to say I am stoked.  I have long coveted 3d printers, but have been waiting for the price point to drop and the resolution to increase.  The prusa i3 is a build your own printer which can be purchased for approx $300.00 (can).  My buddy said, my guess he read it on reddit, the prusa i3 is the best entry level 3d printer on the market as it is infinitely upgradable and is designed on a stiff aluminum frame, which will decrease micro vibrations.  Needless to say, he is a great friend.

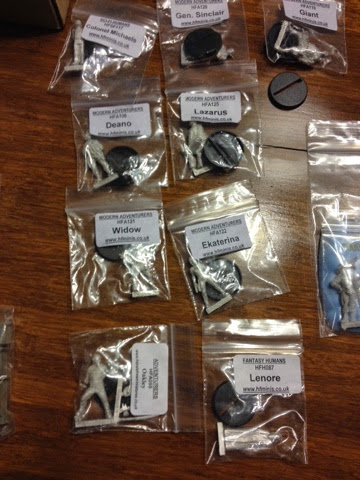
The printer arrived in a heavy flat box on Wednesday.  I spent Thursday laying out the parts and spent most of Friday on the building process, approximately 12hrs.  At first I was daunted by the sheer scope of parts and pieces.  The kit comes with everything except an 8x8 inch piece of glass which will serve as the printer surface (strangely enough, the only part identified in imperial measurement, where the rest on the instruction is in metric).  The packaging, although economical in space and well padded, left much to be desired, lumping all screws, bolts, Allan keys and nuts into one bag.  All other parts were properly secured in bubble wrap and there appeared to be no damage to the parts.  The manual suggests to separate all bolts and screws by length and size, something that could have been done in the packaging.  This would have assisted in speeding up the building process, but I'll get to why it didn't later on.

I'll say this, if it hadn't been go countless hours spent building Lego and Mechano as a kid, I'd have been lost.  The instructions, which can be found on the folger tech website, were disjointed and lacked clarity.  The saving grace were the embedded pictures, which worked to explain when the words failed (unfortunately too often).

The bolts and screws as stated before where an immense pain.  Not only were they mixed up, the screws themselves where not the same as the ones in the instructions (looks like a cost cutting measure).  Most screws where, for the most part, compatible with the parts, but in some cases were too long (the superstructure) or too short (the bracket bolts, which were frustratingly exactly the length of the aluminium frame's depth, resulting in tolerances on less than 2mm).  


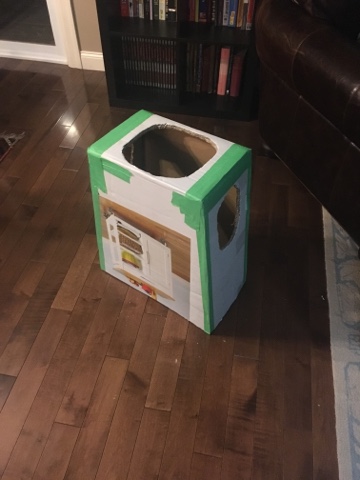
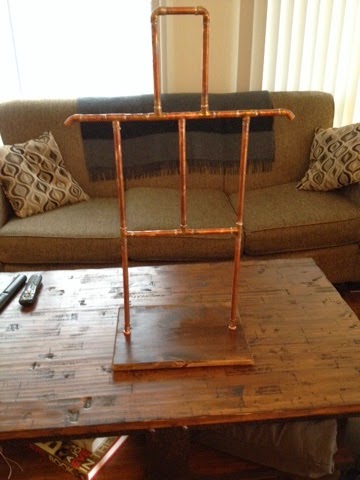
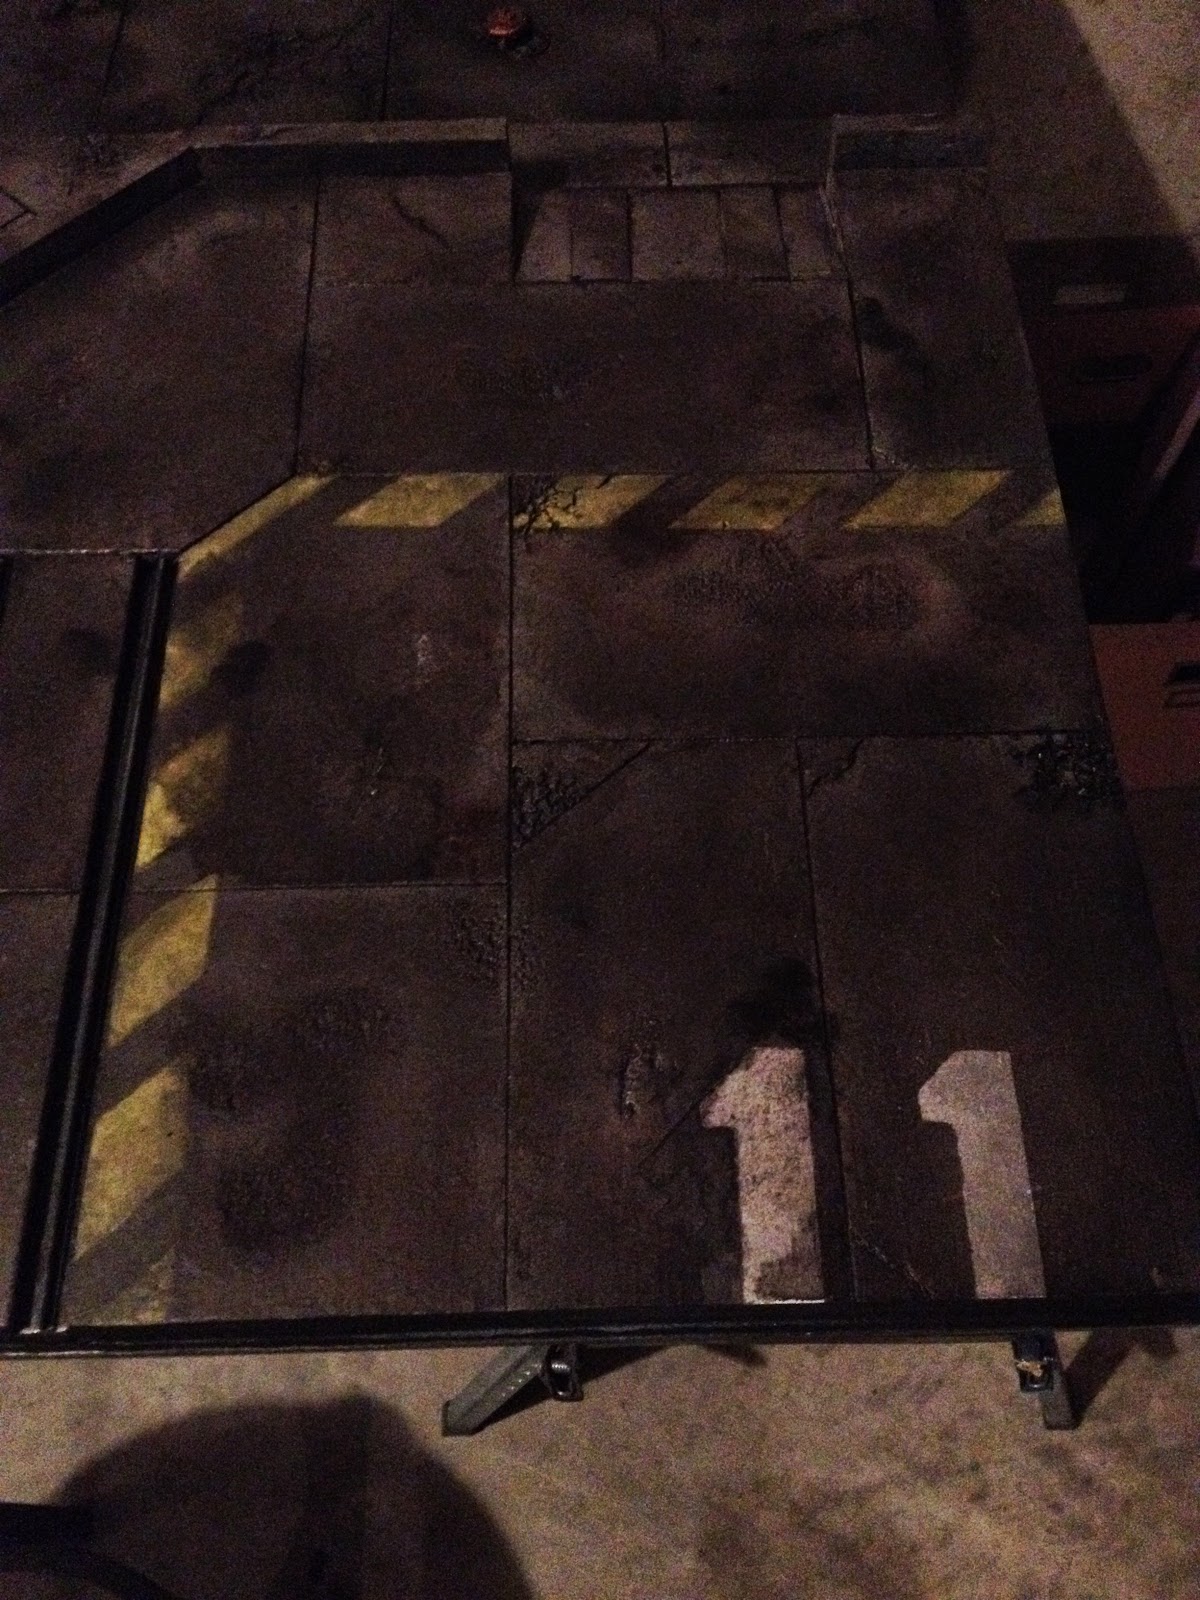
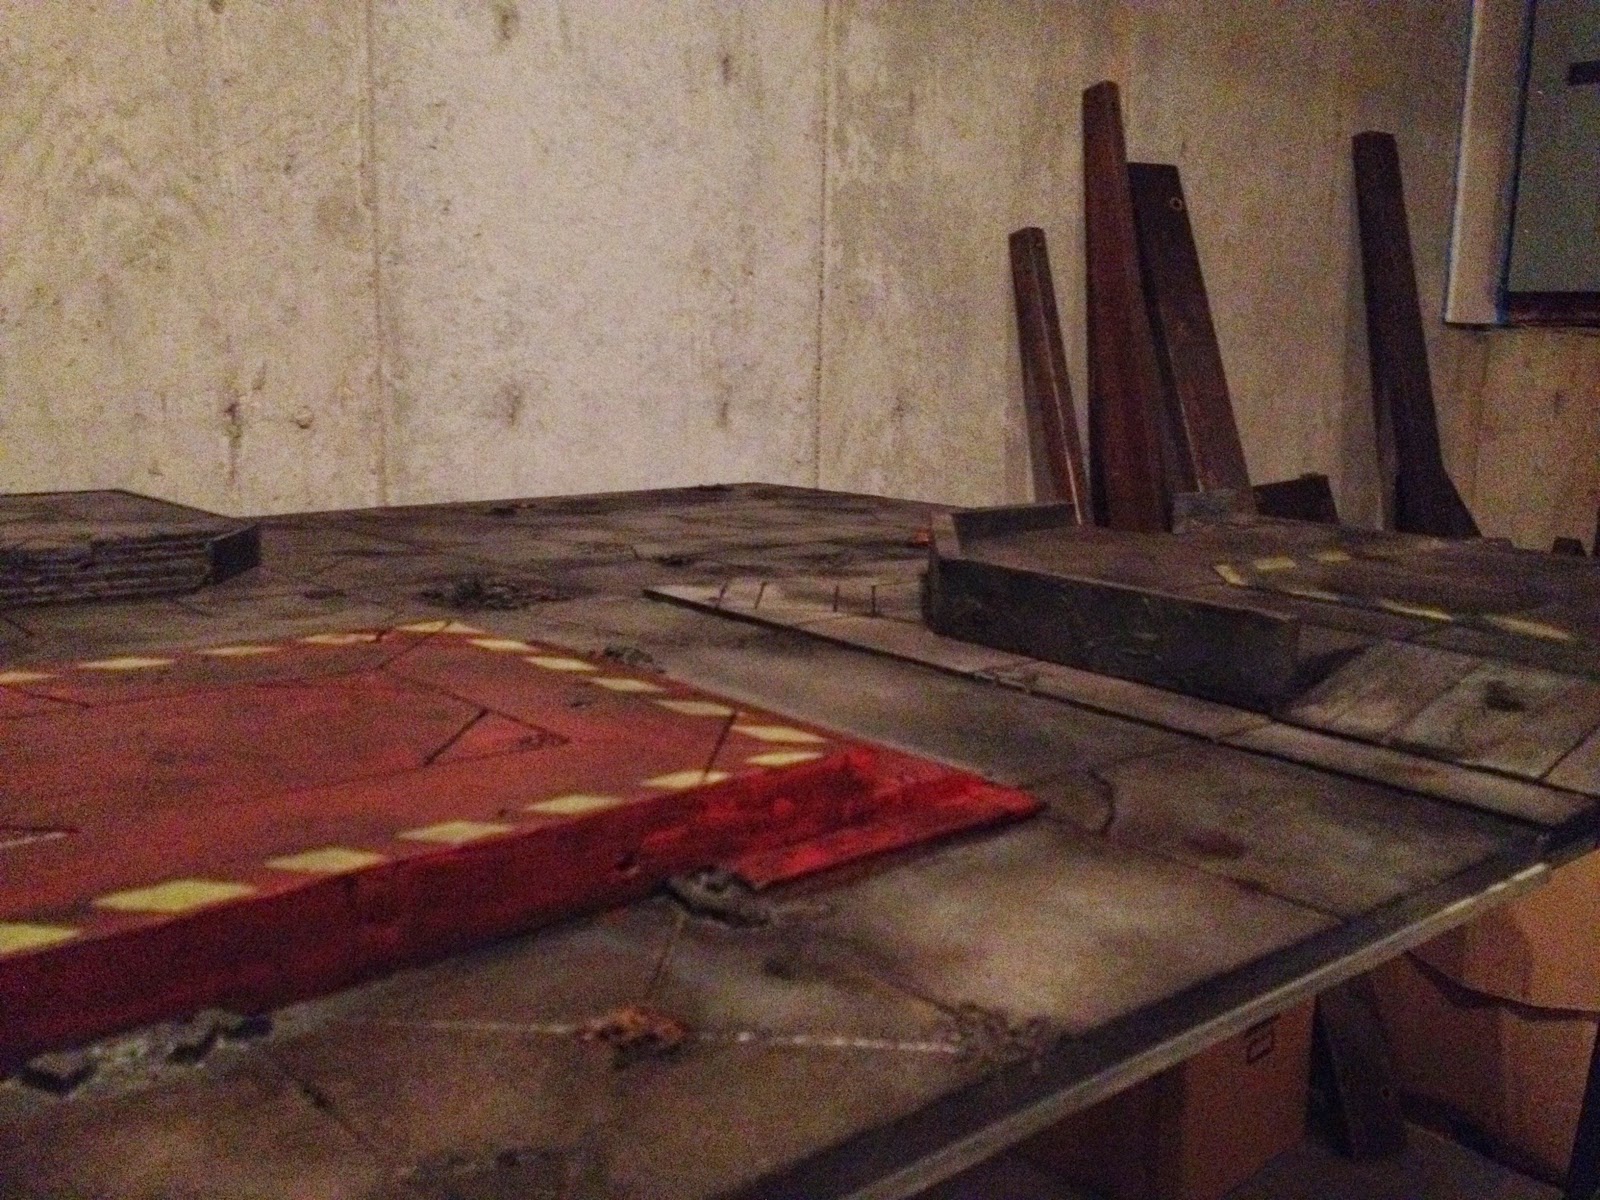
As you can see from the base frame, things didn't always line up.


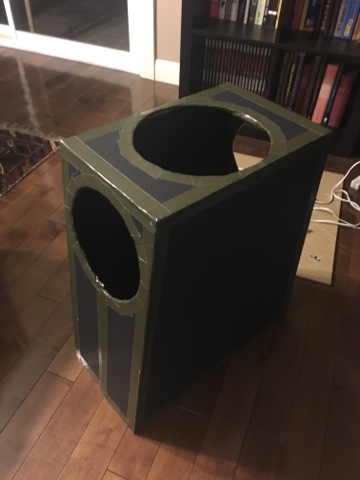
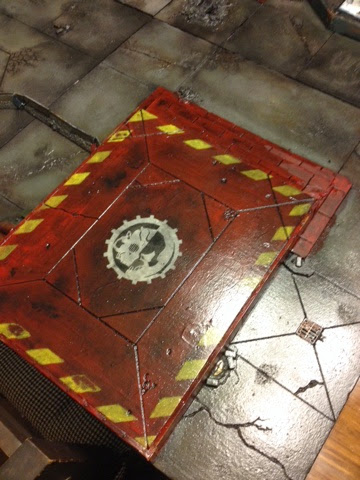
But once the frame was in place, the rest just seemed to make sense.  The 3d printed pieces, which form the bearing housing, worked like a charm.  I was slightly miffed that I had to solder the contact wires for the base (can't be seen in the photo).  This was redundant work that could have been done in the fabrication stage, but I guess that's the fun of it.  I did feel a little like one of those people who bought a first gen home computer, sort of a build your own adventure.  The whole thing did come together in the end, with surprisingly enough, only 5 expletives uttered in the whole building time.  All of which directed at one fucking screw. 

I'll talk about the chips, heat sinks and wiring in the next post as that was a completely different kind of adventure.

I unfortunately didn't take a photo of the almost finished printer.  The build is still ongoing, I had to stop drop last night at 1am as I was scheduled to be on a flight to British Columbia at 5am and I am currently flying now as I'm writing. 

Until next time, happy hobbying.

helbuck

Tuesday, June 16, 2015

Summer clean up and projects


This week I bring you the beginning of the clean and organize hobby space.  I've been planning for a long while to complete the basement for hobby and other purposes.


From the drying of varnished tiles.


To the reorganizing of bits boxes.  

The whole thing has got me in a little creative mood.

This is the beginning of a special diorama I've been thinking about for years.  Although I'm not usually a fan of the carousel dioramas in general, I think it is the only way to fit in the characters I'd like.  4 major characters from one of y favorite works of fiction. 


I'll share my inspiration next time.

Until then happy hobbying.

helbuck 

Sunday, June 7, 2015

Welding complete

Good afternoon hobbyists,

So I have finally gotten around to welding the frame for the body armour holder.  Only one mild small burn, so it was a relatively successful project.


In the process I thought about the overall requirements for this piece of kit.  The biggest was portability.  That followed by aesthetics, naturally.  As a result, I decided to put cotter pins into the pegs in the base.


And the last part was the aesthetics.  And decided to try to burn a leopard c2 into the base.  Overall not really impressed with the process, but I wouldn't rule out trying it again at a later date.  So I painted the burn with black acrylic paint to fill it in a bit.  There is another coat of varnish currently drying.  Strangely enough it reminds me of the scouting boxes and awards that were given out when I was a kid, all of which were made in the 1950s.


There's the final product.  Let me know what you think.  

Cheers and happy hobbying.

helbuck

Tuesday, May 12, 2015

No apologies for the dust...

I've been a bit busy in the last few months teaching on a course.  Unfortunately that course has minimized the amount of time I have available to do work on my myriad of hobbies.  It has lead me to customize and build a few things for work.  Here is a copper pipe body armour stand I built for work.  Like any good soldier, gear should be hung up properly.  This is the elegant work solution.


My buddy and I came up with the design a couple of weeks ago over some beer.  These stands usually take the form of a cross.  The funeral imagery not necessarily what you want in your office, this is a modified design of a roman stand crossed with some industrial design elements of a shelf I once saw.  


This is the fully kitted out version. Once I weld the frame and stain the base I'll post more pictures.

Here is a picture of the one my buddy completed a few days ago.

 
That's all for now.  Whatever you are building, whether hobby or work related, enjoy the time. Happy hobbying.

Cheers

Helbuck

Friday, February 6, 2015

City of death city block

The table is really coming together.  To be honest, I'd had built a considerable amount over the last 2 years, but never got around to the actual table or actually painting them.  As you can see I still have a long way to go, but I'll get there eventually.


The ruined church is always a necessity to all cities of death tables.


The Hab block.  Has all the features of a run down and partially destroyed concrete monolith.  The intent is to add small amounts of colour to the rubble and then shade the whole structure using washes.  Then coloured powder pigment to add the grime and then seal the whole thing in 2 layers of laquer to avoid damage during day to day play.


This is the backside showing most of the damage.  I took inspiration from Second World War photos of London and Berlin.  For the more modern look of destroyed concrete apartments, photos of the gaze strip provided inspiration for the hollowed out and boxy shape.

Happy hobbying.

Helbuck

Wednesday, February 4, 2015

Hasslefree package arrived

Hey folks,

My package from hasslefree arrived.  Great company and lovely people.  Here is the unboxing.


Such a small box full of treasures.


Some great little models.


Full of filing cabinets, desks and crates.

I have a project in mind that required some great furniture that frankly I wasn't willing to scratch build.

Although I will have to scratch build this...


It's going to be awesome.

See if you can guess...

Happy hobbying.

Helbuck 

Monday, February 2, 2015

Snowy snow snow snow

So it's terrible weather outside and as a result I've been motivated to finally add the snow to the cities of death table.


And more snow.


And finally these beauties made from forgeworld resin vents.  They make perfect road barrier of different sizes.


I'm working on the next two tiles, which will be something new and different, so be prepared from something wicked.

happy hobbying.

Helbuck


Teaser

I know, two posts in one day.  Craziness.

Here is a tease of what I've done.  


http://www.likecool.com/Mini_Batman_BatSignal--Toy--Gear.html

And this is a place you can find them.


This is the work in progress.

Helbuck

Sunday, February 1, 2015

More cities of death

Hey folks,

Continued to work on the cities of death table.  This is an added feature that I have been holding onto for a while but hadbt gotten around to completing.


This one started out as a crane toy from winners, I had to shorten it and took a bunch of parts off that I'll be able to incorporate into future projects. For those of you interested this is the crane I used.

http://www.lulusoso.com/products/Toy-Tower-Crane.html

 Actually some of them are currently built into a surprise project I'll be posting later.


Here is the mechanicum symbol I sponge blotted onto the red stand.  It adds a little flare and change to the standard gray of concrete.

I'll post more as the project progresses.

Happy hobbying.

Helbuck


Wednesday, January 28, 2015

Winter and work.

Well hello fine hobbyists,

Thought I'd share the small work project I was working on.  It's mostly for instruction purposes, but the intent for this project was to build map tokens of military units for work wargaming.  Strangely enough people still do it to figure out the best solutions to problems.


The picture above is a collection of these NATO unit symbol which I free handed, laminated and stuck magnets to the back.  They should be waterproof so they can be used outdoors, and they will be a good in class aid for instruction this spring.  Sometimes hobby skills can be used for work too.


Although not as colorful (at this point in construction) the above photo is the start state of the cities of death photos I was showing earlier.  The pink foam is scored with a battery operated soldering iron, which makes good even etches.  Remember that if you are doing this you need appropriate ventilation.  The black paint is enamel and won't score or eat away at the foam.  The technique developed a bit in the process and the next post will be a step by step walk through.

Happy hobbying,

Helbuck


Tuesday, January 20, 2015

New table

Apologies and New Years resolutions are suckers.

So sorry for not posting anything new in over a year.

I haven't been idle though.  I got inspired by the guys at The painting bunker who built some amazing cities of death (or for you old guys out there city fight) terrain.

Armed with insulating foam and mdf board I went about building some basic tiles 2x2 ft tiles.


This is the last tile I made which turned out the best so far, it's a landing pad


These are the four tiles together.  So far I've made some minor changes in painting and weathering.


Here is the big blue guy (Roboute Guilliman) on the table.  I'm planning on adding snow in minor patches to tie the whole table and scenery together.


A little better lighting but still not great.  I'll have to work on that one.

I'll be sure to keep those of you interested still interested as I further develop the table.

Cheers and happy hobbying.